Security & two-factor authentication
Protect your account with authenticator-based two-factor authentication (2FA). Once enabled, signing in takes your password plus a one-time code from an authenticator app — so a leaked password alone isn't enough to get in.
Why enable 2FA
CodesGuard stores some of the most sensitive material your team has: source code and vulnerability data — the exact map of where your applications are weak. A password alone isn't enough to protect that. Two-factor authentication adds a second factor that lives only on your device, so an attacker who steals or guesses your password still can't sign in.
We recommend enabling 2FA on your account, and requiring it for everyone who has access to your workspace.
Authenticator app (TOTP)
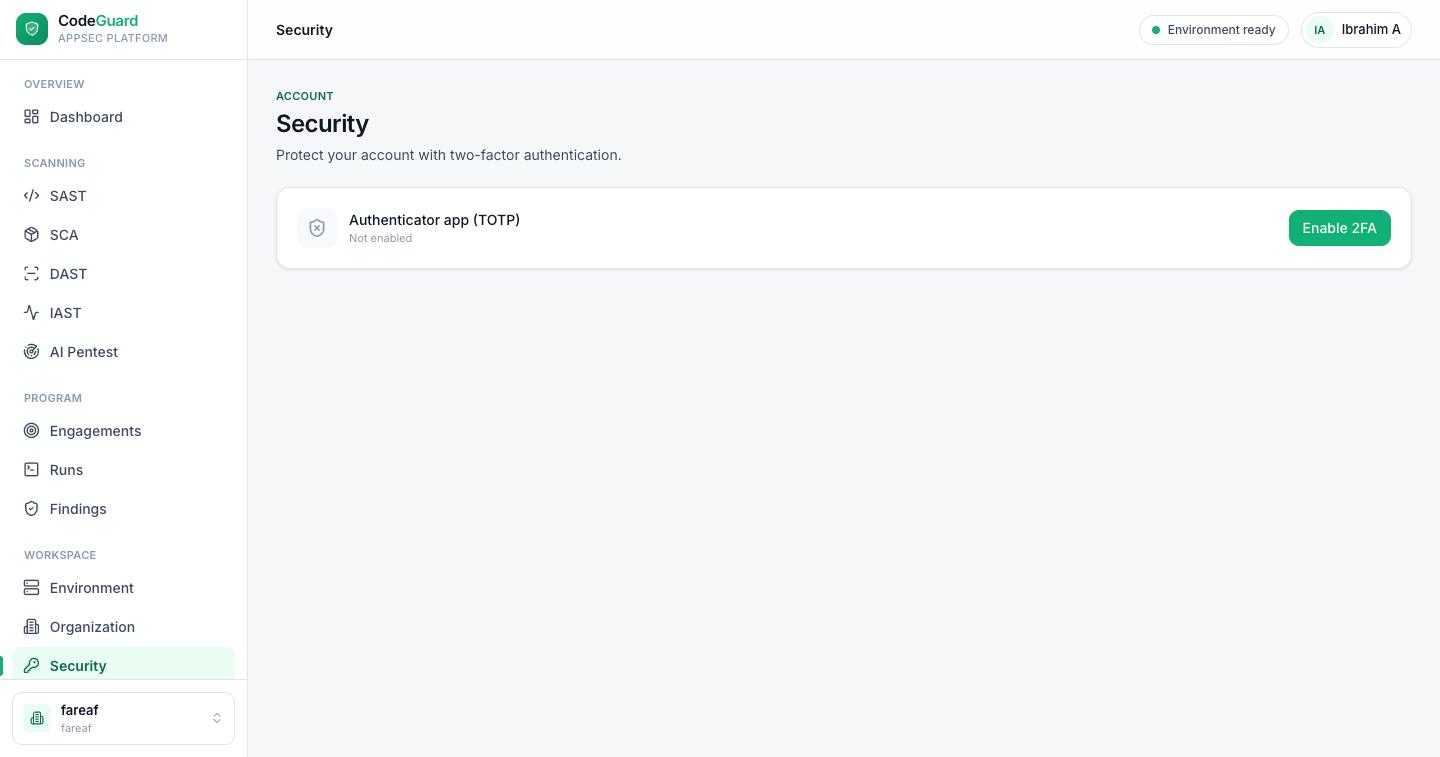
Open Security from your account menu. The page shows an Authenticator app (TOTP) row with your current state — either Not enabled or Enabled — and an Enable 2FA button to turn it on. TOTP (time-based one-time password) is the standard behind apps like Google Authenticator: your app and CodesGuard share a secret once, then both generate the same 6-digit code every 30 seconds without ever talking to each other again.
Enrolling
To turn on 2FA:
- Click Enable 2FA
On the Security page, press Enable 2FA to start enrollment.
- Scan the QR code
Scan the displayed QR code with an authenticator app — Google Authenticator, Authy, 1Password, or any TOTP app. If you can't scan, enter the shown secret manually instead.
- Confirm with a code
Enter the 6-digit code your authenticator app is showing to confirm the two are in sync.
- Save your backup codes
CodesGuard shows a set of one-time backup codes. Save them somewhere safe — a password manager is ideal. Each code works once, as a way in if you ever lose your authenticator device.
Signing in with 2FA
Once 2FA is enabled, sign-in gains a second step. After you enter your email and password, CodesGuard asks for the 6-digit code from your authenticator app. If you don't have your device, enter one of your backup codes instead — each backup code works once.
Disabling 2FA
You can turn 2FA off from the same Security page. To confirm it's really you, disabling 2FA requires re-entering your password. If you disable it, we recommend turning it back on right away — your account is more exposed without a second factor.
How CodesGuard protects your workspace
Account 2FA secures how you sign in. Around it, the platform adds controls that protect your code, your findings and the systems you test:
CI tokens
A CI token lets a pipeline start scans and read their results — nothing else: it cannot sign in, and it cannot change members, billing or policies. Owners and admins create them in the CI tokens card on this page:
- Create
Give the token a name (for example GitHub Actions — web), choose the project it may scan — or all projects — and when it expires (in 30 days, 90 days, a year, or never).
- Copy it once
The token is shown once. Store it as a secret in your CI system; CodesGuard keeps only a fingerprint of it.
Each token shows when it was last used. Revoke a token in the same card: pipelines using it stop working at once. CI tokens need a plan that includes API access — see Billing & plans.